
Late May is when a farm is busiest and when the edges get forgotten. The corn is up, the first cutting of hay is on, the vegetable beds are planted, and the strip along the fence line gets mowed because it always has been. This article is about doing something more deliberate with those edges, and with the point rows, wet corners and thin ground that never paid anyway. It is also timed to a date. National Pollinator Week, which the Pollinator Partnership has run since the US Senate first designated a week in June back in 2007, falls on June 17 to 23 this year. That is a good deadline for walking your edges with a notebook.
The aim is not a wildflower postcard. It is habitat that fits a working layout, that you can mow and spray around with a clear conscience, and that somebody helps pay for.
Why a working farm bothers
Start with the insects that already live on your place. The Xerces Society puts it plainly: about 70 percent of native bees nest in the ground, digging burrows into bare soil, and the other 30 percent nest in cavities such as dead wood, hollow stems and brush piles. Tilling can kill the ground nesters. A field edge that is never tilled, with some bare soil and some old stems left standing, is already doing more than it looks.
The economic argument is on USDA's own fact sheets. The Farm Service Agency's CP42 Pollinator Habitat sheet says agriculture relies on pollinators for one-third of food products, that honeybee-pollinated commodities account for $15 billion a year in US agricultural production, and that habitat attractive to pollinators also attracts the beneficial insects that prey on crop pests. The pressure on the wild species is real. The rusty patched bumble bee, once common across the eastern United States and the upper Midwest, has disappeared from an estimated 87 percent of its historic range and was listed as federally endangered in January 2017, with habitat loss, insecticides and a pathogen spread by commercially reared bumble bees among the suspected causes.
On a farm, the most useful evidence comes from Michigan. In a SARE-funded project at Michigan State University, Rufus Isaacs and Brett Blaauw planted strips of native perennial wildflowers along the borders of blueberry, apple and cherry blocks. Native bees and insect natural enemies increased next to the strips while plant-eating insects did not, biological control of sentinel pest eggs and larvae went up, and by the third year blueberry fields next to the plantings showed higher fruit set and berry weight. The project report is honest that this is an initially costly practice that pays as the beneficial insect population builds. That matches our belief that a farm should respect creation. The return on diversity comes to those who think long term. The flip side is the uniformity we described in The Dangers of Monocropping: a field with one crop and clean edges offers a bee a few weeks of food and then nothing.
Where habitat fits a farm layout
Habitat does not have to take good ground. The CP42 sheet describes pollinator habitat on farmland as blocks or strips within a field, and FSA's practice requirements are a habitat area of at least half an acre and a block or strip at least 20 feet wide. The NRCS national standard for Conservation Cover, practice 327, lists wildlife, pollinator and beneficial organism habitat among its purposes and suggests a minimum width of 30 feet where the cover is run as a prairie strip across a slope.
Distance matters more than size. University of Vermont Extension's Mowing for Pollinators sheet advises keeping patches of flowers within 300 feet of the crops you need pollinated, because small native bees may fly only about 500 feet from the nest while bumble bees range a mile or more. The same sheet notes that research favors small, scattered patches over one large central block. Put the habitat next to the orchard, the squash field and the berry rows, not on the far side of the farm.
Good candidates: the strip between the field and the road, the point rows and turnaround corners a planter never fills well, the wet corner that drowns out two years in five, the thin ridge that never yields, and the band along a grassed waterway. Woody edges count too. We covered the research on hedgerows and shelterbelts in Hedgerows and Windbreaks. The broader case for trees in the farm layout is in What is Agroforestry?. On sloping row-crop ground, contour strips of prairie do double duty against erosion; we will take those up in Prairie Strips: A Small Set-Aside With Outsized Results.
Something in bloom from April to frost
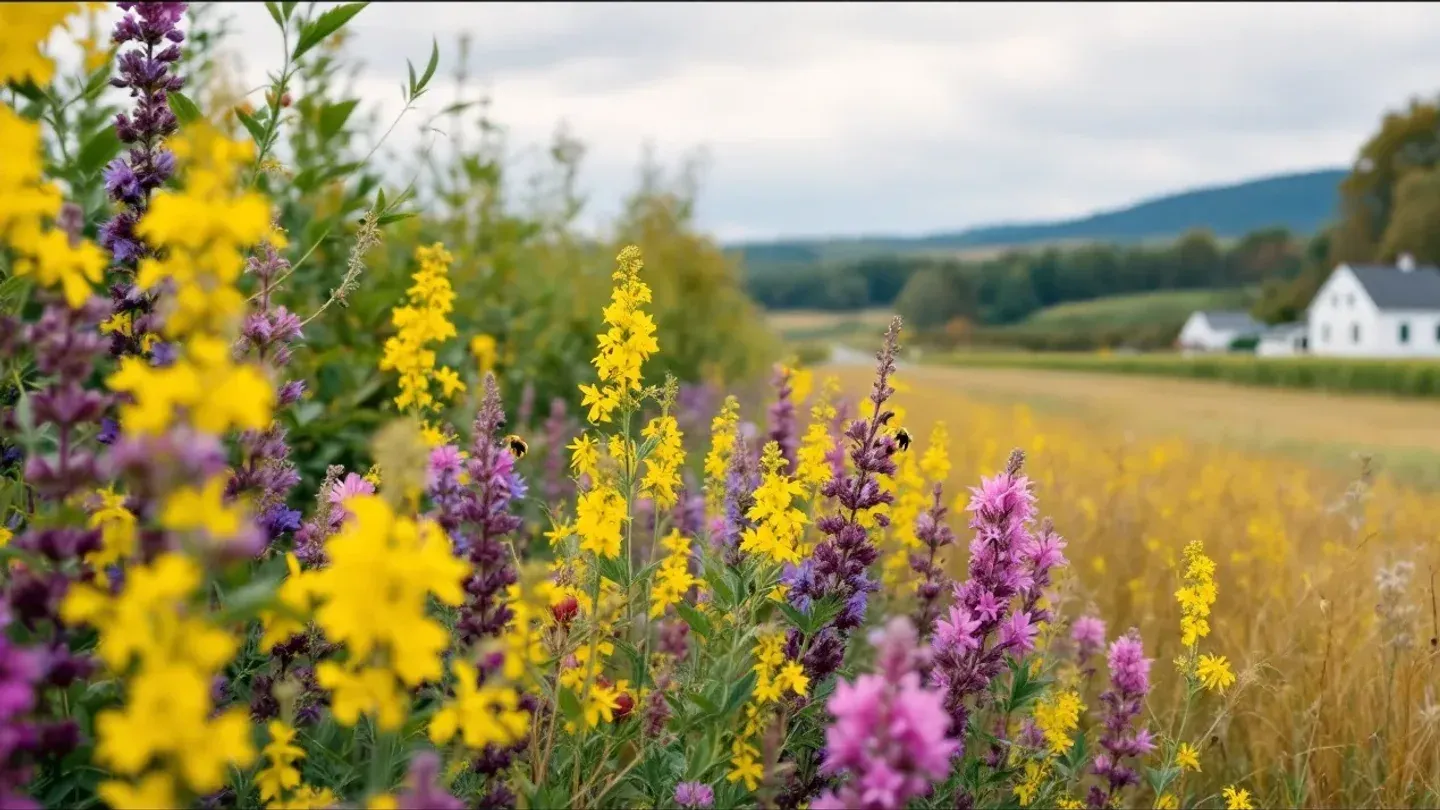
A planting that blooms for three weeks in July is a snack. The Xerces Society's guide to Establishing Pollinator Meadows from Seed sets the floor: at minimum, three species in bloom at any one time through the growing season, with early spring flowers for emerging bumble bee queens and late summer and fall flowers for the new queens that have to fatten up before winter. Native bunch grasses belong in the mix for structure and nesting cover, but Xerces caps them at 25 percent of the seed count so the wildflowers dominate.
The fall end is the one farms most often cut off. The Connecticut Agricultural Experiment Station's fact sheet on timing meadow mowing points out that goldenrod, Joe-Pye weed and New England aster carry pollinators into September and October, after the crops and cover crops are done. (Goldenrod does not cause hay fever; its pollen is too heavy to blow.) Xerces' habitat evaluation form gives you a simple test for an established planting: walk it through the season and look for any gap in bloom longer than two weeks. Xerces reads a gap as a sign of low abundance or too few species for that stretch of the season.
Species lists are regional, and you do not have to invent them. Xerces and NRCS publish state-by-state habitat installation guides, keyed to the NRCS practice codes, with seed mixes in the appendix. Buy local-ecotype seed where you can, and order species as separate lots rather than one blended mix, as the Xerces guide suggests, so small and large seeds can be spread evenly. Our service providers and manufacturers directory lists the native seed houses we have found useful. Our organizations directory lists the conservation groups.
Site preparation decides everything
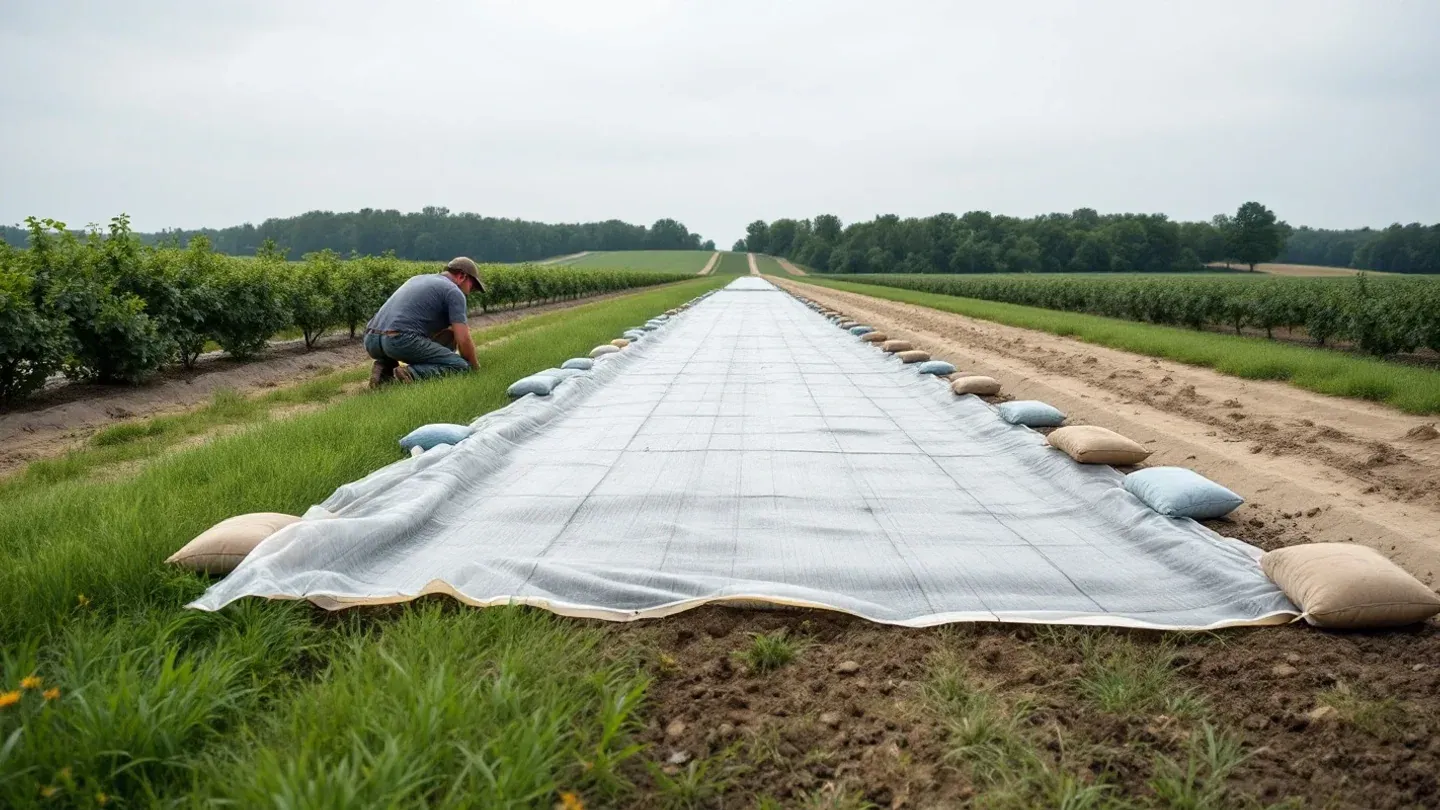
Most failed pollinator plantings fail before the seed goes in. Xerces is blunt: depending on weed pressure, one to two years of site preparation may be needed, and the seed and rhizomes of perennial weeds in particular have to be gone. The options are a broad-spectrum herbicide applied while weeds are actively growing and repeated through the season, solarization under clear plastic for small sites, or sod removal. Whatever you choose, Xerces warns against tilling or rototilling at the end, because every pass brings more weed seed to the surface. It also disturbs the ground-nesting bees you are trying to help.
Seed in the fall. The regional planting table in the Xerces guide puts perennial wildflower seeding in October to December for New England, the Upper Midwest, the Northern Plains and the Mountain and Great Basin region, and into January for the Mid-Atlantic and the Southern Plains; a cold, wet winter breaks seed dormancy and settles seed into the soil. Spring seeding is possible but tends to favor grasses. Broadcast at 40 to 60 seeds per square foot, mixed with damp sand or sawdust so you can see your coverage, then roll it in.
Year one looks like a weed patch, and that is normal. Mow the site periodically in the first season so annual weeds cannot set seed while the slow perennials build roots. Xerces expects regular flowering across most of the natives beginning in the third season. The same patience applies to the soil: a strip you stop tilling is on the path we describe in Heal the Soil.
Mowing: when, how much, how high
Mowing is the management tool, not the enemy. The Xerces guide on maintaining diverse stands of wildflowers rates it one of the most effective tools for keeping forb diversity and density up and for stopping woody plants from taking over. Timing and extent decide whether it helps or hurts.
- When: after the first hard frost, or before growth starts in late winter. The Vermont and the Connecticut sheets agree on the main point: leave the fall flowers until frost. In Connecticut that means October 1 to late October; adjust for your own frost date. Vermont adds that spring mowing is best avoided, and that delaying it in May (the "no mow May" idea) lets dandelions and other early flowers feed the early season.
- How much: never the whole thing. Xerces advises spreading management across several years and disturbing no more than one third of the managed area at any one time, so the insects nesting and feeding in the stand survive somewhere; it suggests breaking a site into three to five segments mowed on rotation, and its Midwest and Great Plains calendars say not to mow a site more often than once every three years. Connecticut puts it at one third to one half of the habitat each time. The NRCS 327 standard says it in its own words: mow only one-fourth or one-third of the area each year, on rotation.
- How high: raise the deck. Vermont suggests 8 inches or more in fields; Xerces recommends a flail mower with the bar set at least 12 inches above the soil so bumble bees nesting in the stand are not disturbed.
- How: Vermont's tip is to mow from the inside out, starting in the middle, so insects and wildlife are pushed toward the edge and the hedgerow with each pass rather than into the center of the cut.
Hay fields are the exception, and the Connecticut sheet says so: hay is cut in midsummer for feed quality, and that is a different management goal. Decide which fields are for hay and which are for habitat, and do not pretend one is the other. That kind of plain planning is the heart of managing holistically.
Spraying around habitat
A pollinator strip beside a sprayed field is only worth planting if the spray program respects it. Since 2013, EPA has required a bee advisory box on neonicotinoid product labels, with language such as "Do not apply this product while bees are foraging" and "Do not apply this product until flowering is complete and all petals have fallen." The label is the law. Read the box before the season starts, not after.
Timing within the day matters because residues keep working after the sprayer leaves. EPA publishes RT25 data, the length of time after application that residues on foliage stay toxic enough to kill a quarter of the honey bees exposed to them, and it warns that the values vary considerably by chemical and formulation. A product with a short RT25 applied at dusk is a different risk to the strip than one with a long RT25 applied mid-morning. The NRCS 327 standard makes the same point in its habitat criteria: reduce pesticide exposures that could harm wildlife, pollinators and other beneficial organisms. In practice that means drawing the habitat onto the spray map, leaving an unsprayed buffer on the habitat side, and setting wind limits that keep drift out of it. The neighborly side of drift is its own subject; we will take it up in Pesticide Drift and Neighbors.
Who pays: CRP and NRCS
The program built for this is the Conservation Reserve Program's Pollinator Habitat practice, CP42. The FSA sheet lists what a participant receives: 10 years of annual rental payments, 50 percent cost-share assistance on establishment, and under continuous sign-up a signing incentive payment and a practice incentive payment on top. The land has to have been cropped four of the six years in FSA's base period, you must have owned or operated it for at least 12 months before sign-up, the planting has to be established within 12 months of the contract's effective date, and the area cannot be harvested or grazed except under approved conditions. CP42 is offered in both general and continuous sign-up.
Timing is what matters this spring. FSA's general CRP sign-up for 2024 ran from March 4 to March 29 and has closed; general offers are ranked against each other once a year. The continuous sign-up, which FSA opened in January, takes offers all year, and an eligible offer is accepted automatically as long as enrollment stays under the statutory cap. CRP stood at 24.8 million enrolled acres when the general sign-up was announced, after about 926,000 acres came in through the 2023 general round. FSA's CRP page explains the difference between the two tracks. For sloping cropland, the sister practice CP43, Prairie Strips, is continuous-only and pays 10 to 15 years of rent plus the same cost share and incentives.
One caveat for anyone reading this in a county office: the programs are running on borrowed time. The 2018 Farm Bill was extended through September 30, 2024 by the stopgap spending law signed on November 17, 2023, and Congress has not passed its successor as we write. We explained what is in the law in The Farm Bill Explained. The fight over conservation dollars is the subject of The Conservation Title and the Fight Over IRA Money. A CRP contract signed under the extension stands; what changes is the next sign-up.
On the NRCS side, the same planting is written as Conservation Cover (327) or, for a shrub line, Hedgerow Planting (422), the two practice codes the Xerces installation guides are organized around, and it goes into an EQIP or CSP contract. We walked through those programs in How EQIP and CSP Conservation Payments Work for a Small Farm. Whichever door you use, the first call is the same: your county USDA service center, where FSA and NRCS usually share a building.
A late-May list
- Walk the edges before Pollinator Week with a notebook and a tape. Mark every strip at least 20 feet wide and every corner that adds up to half an acre within 300 feet of a crop that needs bees.
- Note what is in bloom on the farm now, then again in late July and late September. The gaps are your seed list.
- Call the service center and ask about continuous CRP CP42 and NRCS practice 327 for those acres. Bring the cropping history.
- Download your state's Xerces and NRCS installation guide and price the seed mix as separate lots from a local-ecotype supplier.
- Start site preparation this summer, not next spring: kill the existing sod through the growing season and plan to seed between October and December.
- Draw the habitat onto the spray map now and read the bee advisory box on every insecticide in the shed.
- Write the mowing rule on the shop wall: after frost, one third at a time, deck up.